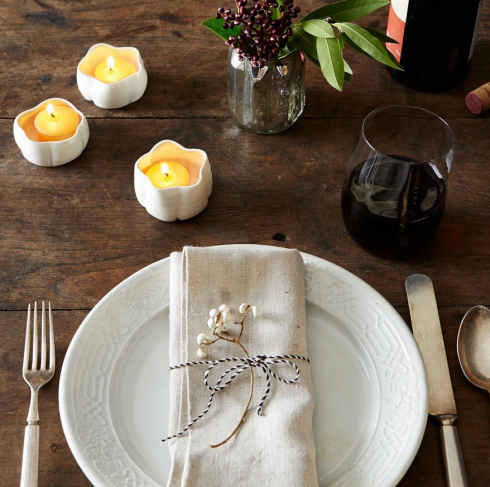
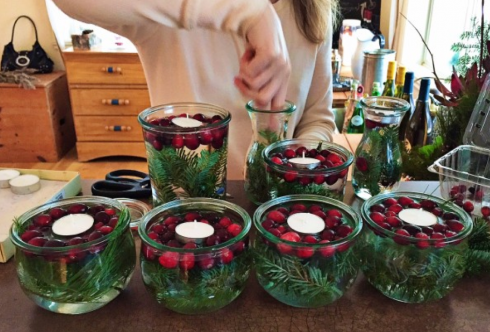
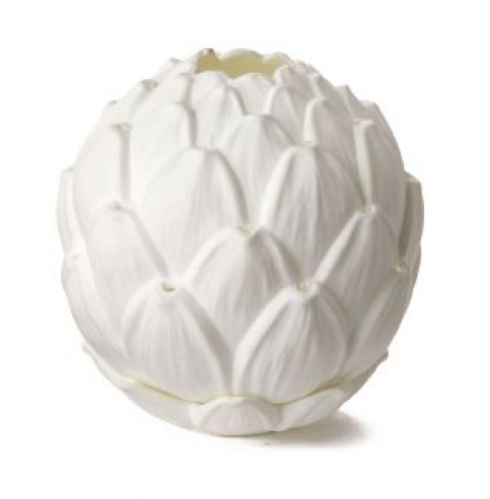
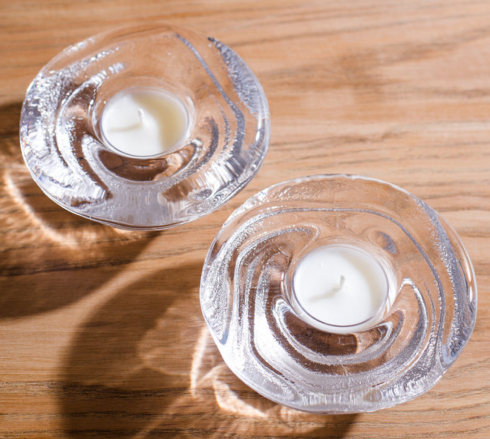
Keeping the house bright this time of year can be hard. The light outside is so dull and the sun sets pretty early. To cheer up our table I like to light candles in little votive holders. It is an easy way to brighten our space and add a little extra warmth to our day. Here are a few of my favorites:
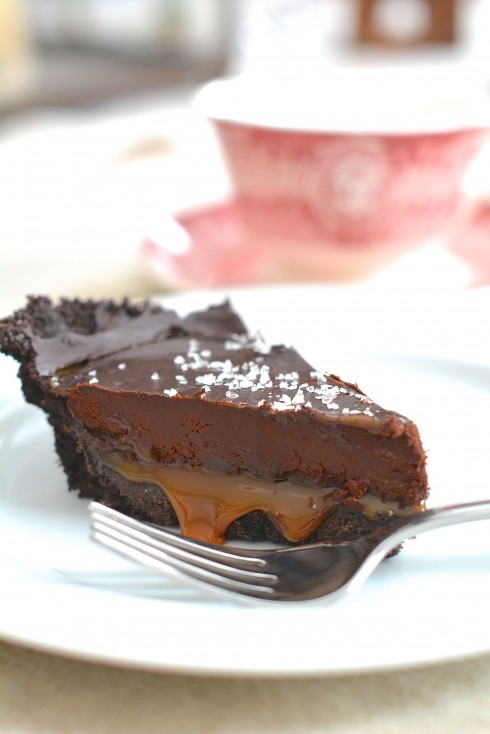
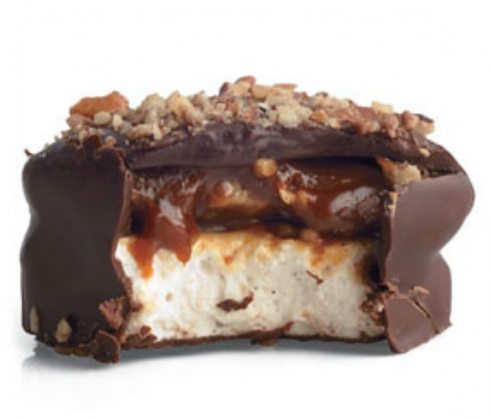
This decadent treat is my gift to you this Valentine’s Day week. I know, we’ve talked about a few sweet things lately but this baby is the ultimate. It is so easy. Really, truly easy. And it is unbelievably delicious. It features a thick spread of salted caramel which is definitely a trendy flavor right now. The caramel is cradled in a simple chocolate cookie crust and topped with a decadent, and easy, ganache.
Last week was the perfect time to receive my latest box from Blue Apron. As you might remember, I get a funbox of meals from them every so often. It is a great way to jolt me out of my cooking comfort zone and get the family excited for new foods. The box comes packed with farm-fresh ingredients for three delicious family meals measured out and ready to be cooked. Not only are the recipes they send inventive and interesting, it also means no trip to the grocery store and no throwing out unused food. Perfect!
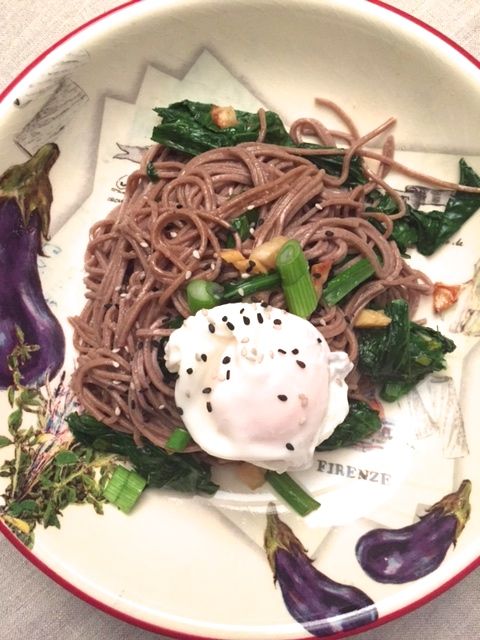
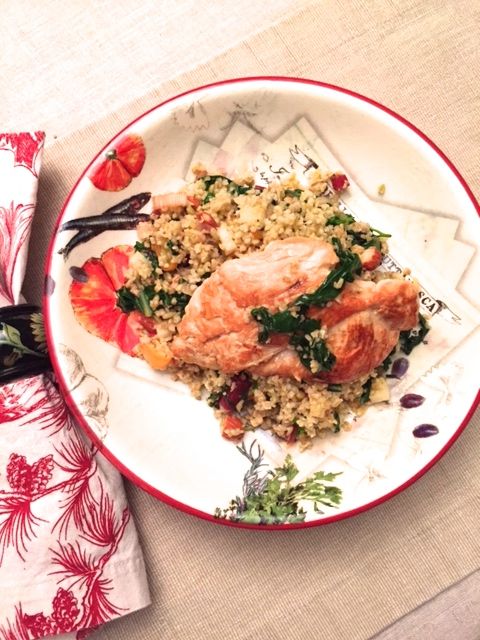
Since we like to change up our diets I always get one poultry meal, one seafood meal, and one vegetarian dish. Last week two of the three dishes had a wonderful Asian flair which we enjoyed since I rarely cook Asian-style family meals, though we love the cuisine. The third was a delicious chicken dish featuring a kumquat and cracked wheat salad. I’ll admit, I think kumquats are pretty in the store but I rarely buy them. Now I have an idea of what to do with them and I think I might pick some up.
All in all this box was the perfect thing to get me back on track with trying new recipes and cooking meals full of fresh produce. Though find it harder to cook with loads of fresh vegetables this time of year there is really no reason why I should. I think it is just because I miss visiting the farm stand so much.
If you feel like you are ready be plucked out of a cooking rut, or you just want to try a week of new, inspiring meals you really should give Blue Apron a try. There are lots of people I know who love them! In fact, right now Blue Apron is giving Naptime Chef readers a special incentive. The first 50 readers to sign up here get 2 meals FREE!! If you get hooked on Blue Apron you can continue ordering from them and cancel or skip a week at any time at no cost. Oh, and the shipping is always free. Hard to argue with that! So, what are you waiting for? Treat you and your family to a mid-winter change and have some fun!
(Disclosure: I was sent the meals from Blue Apron to try. The photographs and opinions are wholly my own. Thank you for supporting the sponsors that make The Naptime Chef possible.)
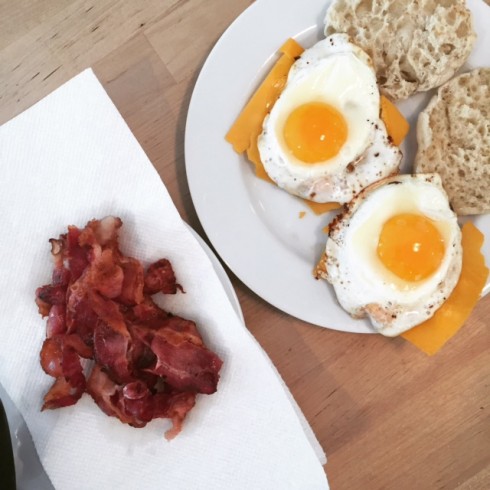
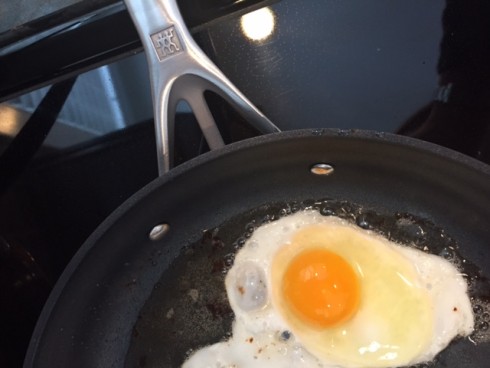
So, this winter we developed a weekend brunch routine. Every Sunday morning for the past few weeks I’ve been whipping up fried eggs and bacon, along with English muffins, tea, and juice for the whole family. There is pretty much nothing better than starting off the day with a hot meal before heading outside to play in the snow. (And yes, for the non-egg eater in my house there are pancakes, too!)
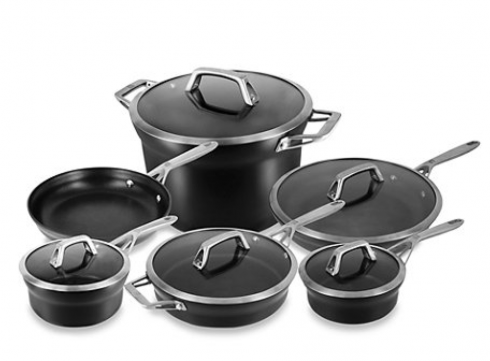
Recently my friends at Zwilling J.A. Henckels sent me these beautiful non-stick pans and they’ve made this egg-n-bacon routine easier than ever. Everything I make on them glides right off the pan and onto the plate perfectly cooked with nary a crumb left behind to burn. I love it! Since they conduct the heat so evenly I don’t have to thrash the pan around the stovetop to keep the egg yolks from setting too soon in hot spots, or worry about the bacon burning. Those days are behind me now!
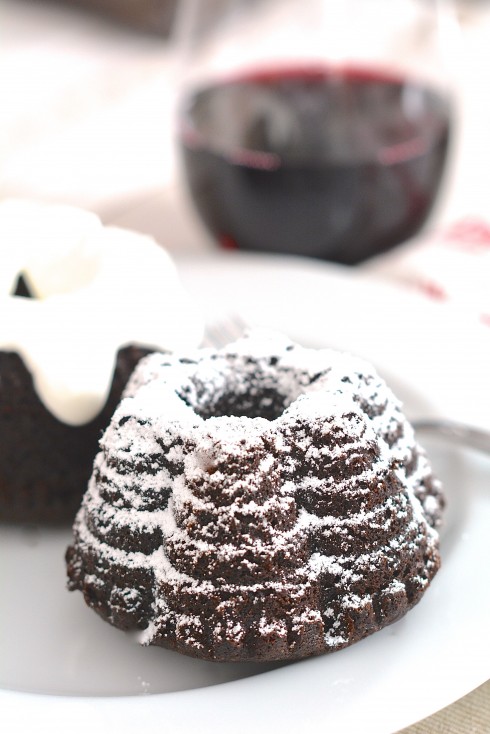
This week I am gearing up for Valentine’s Day and I hope you’ll join me! I’ve long proclaimed that I am not a devotee of crazy chocolate covered Hallmark holidays. But a few sweets and a glass of champagne are always a good idea. That is where decadent chocolate merlot cake comes in. They can easily be baked up during naptime, or even after dinner, and they contain everyone’s favorite ingredient: wine.