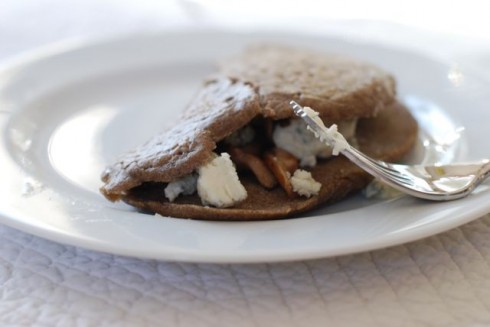
The Manwich Cheese Biscuit with Bacon

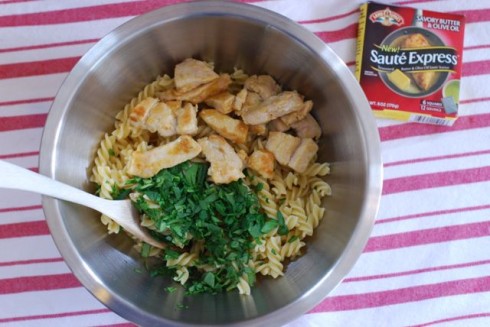
Sloppy Joe’s are a favorite meal from my childhood. I remember my mother making them every once in a long while and my brother and I jumping with excitement when they hit the table. I still make them from time to time and recently I decided to give them a new twist. Instead of serving a good ole’ Manwich sloppy joe on a roll, I used a biscuit. Then I added cubes of spicy cheddar cheese and a slice of bacon! The whole sandwich was inspired by some of my favorite southern cuisine and a desperate need to turn our everyday Monday meal into something special.
I am excited to be working with Manwich on their campaign to turn a case of the Monday meal-blahs into A Case of the Mandays. As I’ve said before, I am not stranger to a good shortcut now and then. Manwich sauce is a tried and true favorite and my family always loves it. It always comes through a pinch and there are SO many great dishes you can make with it. I’ll admit, this biscuit is on the decadent side but I am not worried. It made for an fun, delicious meal for the whole family on a Monday evening and that is the best way to start off the week!
To help you turn Monday into A Case of the Manday’s I am excited to be giving away one Manday Manwich Survival Kit. It includes:
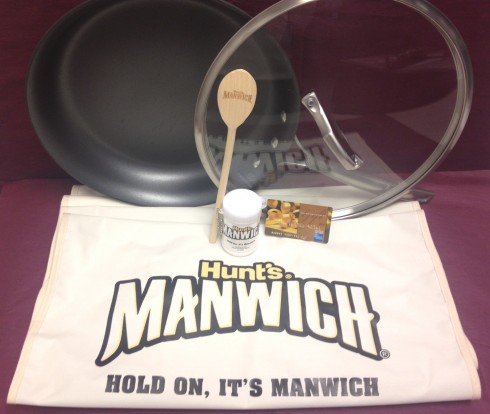
- 1 Calphalon skillet ($80 value)
- 1 wooden spoon
- 4 Manwich bibs
- 1 canister of handwipes
- $50 grocery gift card
- Manwich product
To Enter to Win:
1) Leave a comment sharing what you might make with your Manwich!
2) Subscribe to Kelsey Banfield on Facebook.
3) Subscribe to The Naptime Chef newsletter in the upper right hand corner.
4) Contest runs from Monday April 8th at 7:00am through Monday April 15th at 7:00am. The contest winner will be announced in the Friday April 19th newsletter.
(Disclosure: This post is sponsored by Manwich but the opinions expressed are entirely my own. Thank you for supporting the posts that make The Naptime Chef possible.)
Recipe
The Manwich Cheese Biscuit with Bacon
serves 4
Ingredients
| 1 | can Manwich |
| 1 | pound ground beef |
| 4 | ounces cubed spicy cheese |
| 8 | slices freshly cooked bacon4 |
| 4 | freshly cooked biscuits (we used pre-made biscuits from the refrigerated section of the grocery store) |
Instructions
1. In a nonstick skillet over medium heat cook the beef until it is browned and cooked through. While it is cooking use a spatula to break it up into small pieces. When the meat is no longer pink stir in the Manwich and cooked until it is completely heated through.
2. To assemble the dinner sandwiches slice the biscuits in half. Place even amounts of Manwich on top of each one and stud each one with the cubed cheese. Then, top each one with two slices of bacon. Close the sandwich with the top of the biscuit. Enjoy!
Naptime Notes
Naptime Recipe Serving ideas
Naptime Stopwatch
Naptime Reviews


